A minimal example
SAPIEN provides a serial of API to build and evaluate your simulation environment. In this tutorial, you will learn the following:
Create a simulation scene to run simulation step
Setup a renderer to visualize the simulated results
Load an articulated object from URDF file
Simulation engine and scene
To use SAPIEN simulation, first create a simulation engine and use engine to build a simulation scene.
1 2 3 4 5 6 7 8 | import sapien.core as sapien
engine = sapien.Engine()
renderer = sapien.OptifuserRenderer()
engine.set_renderer(renderer)
scene0 = engine.create_scene(gravity=[0, 0, -9.81])
scene0.set_timestep(1 / 240)
|
An engine in SAPIEN is the most basic interface for physical simulation,
which can create a simulation scene.
Each scene is a simulation instance where individual simulation runs on and can take step().
It is something like env in OpenAI Gym.
You can create multiple scene which can simulation step independently.
renderer is the most basic interface for rendering, one render will take charge of all scenes.
On screen rendering by renderer controller
renderer_controller monitor the on-screen rendering, it us useful to visualize the simulation after
bind a scene by set_current_scene().
10 11 12 13 14 15 16 17 | renderer_controller = sapien.OptifuserController(renderer)
renderer_controller.set_current_scene(scene0)
renderer_controller.show_window()
renderer_controller.set_camera_position(-4, 0, 2)
renderer_controller.set_camera_rotation(0, -0.5)
scene0.set_ambient_light([0.5, 0.5, 0.5])
scene0.set_shadow_light([0, 1, -1], [0.5, 0.5, 0.5])
|
Note
You need the show_window() to see the visualization by create a GL window, and use hide_window once you do not need it.
Load SAPIEN assets
So far there nothing is in our simulation scene. To load SAPIEN assets, we create a urdf loader to load
it from file.
19 20 | loader = scene0.create_urdf_loader()
articulated_object = loader.load("assets/179/mobility.urdf")
|
Simulation Loop
Now we begin simulation loop take step(). Press q on the keyboard at anytime to exit.
22 23 24 25 | while not renderer_controller.should_quit:
scene0.update_render()
scene0.step()
renderer_controller.render()
|
Note
The update_renderer() will send the data to the renderer. Comment it and you visualization will stay static.
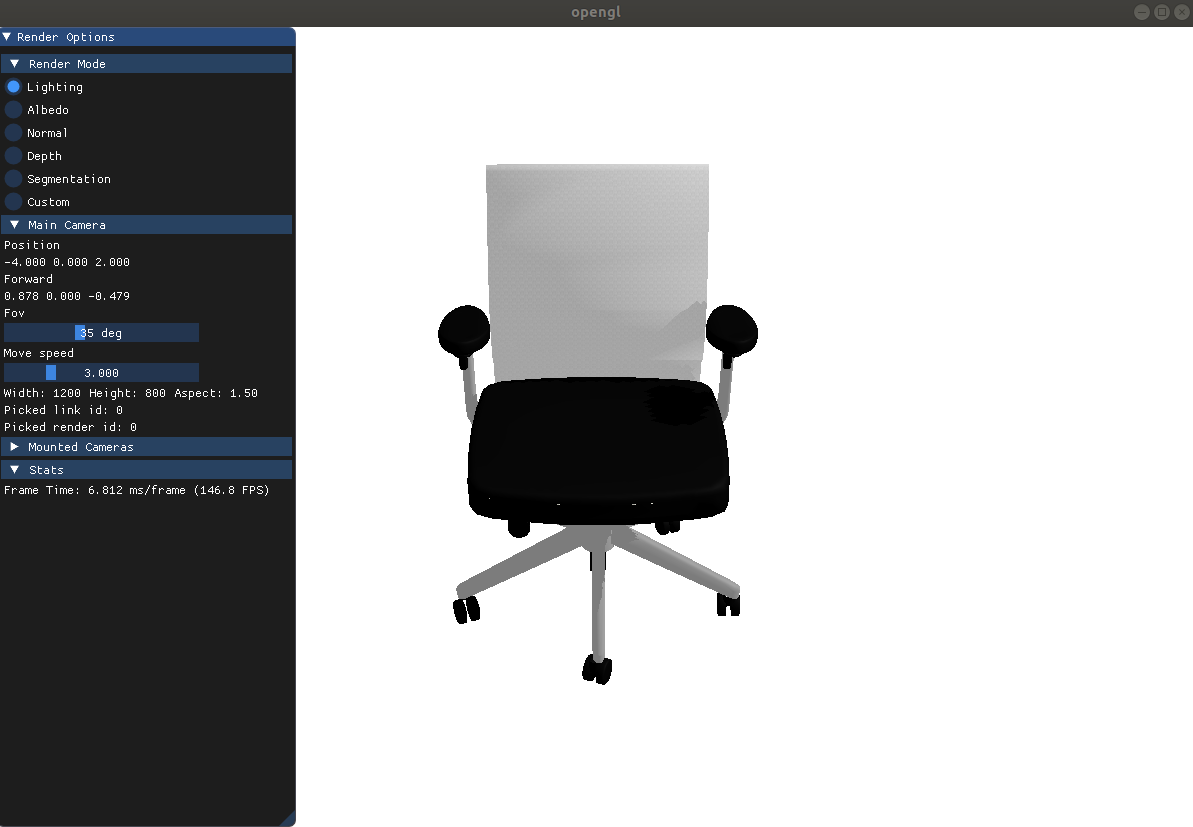
You will see the visualization like following:
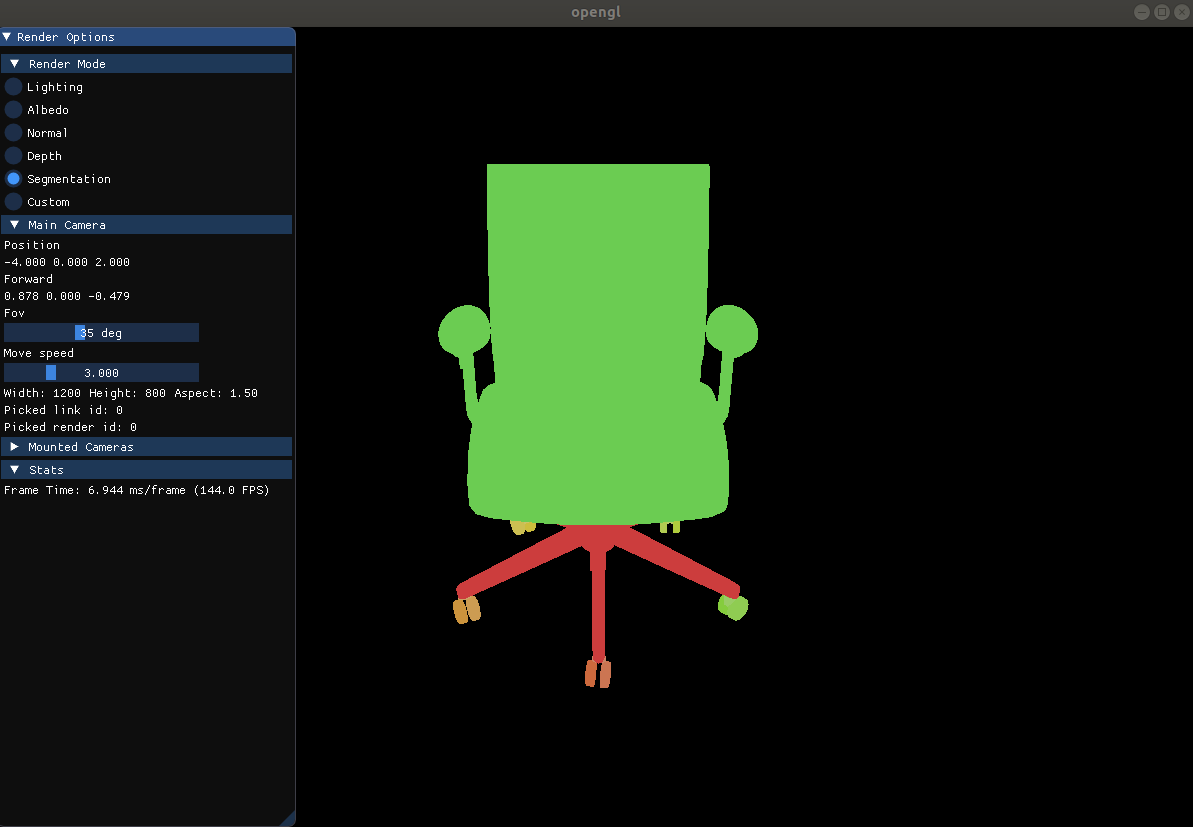
Change visualization mode
The on screen rendering is based upon imgui. It provides convenient GUI for visualization and debug. Switch the rendering mode at the left panel to get more information about the current scene. For example, segmentaion will be as follow:
The entire code
1 2 3 4 5 6 7 8 9 10 11 12 13 14 15 16 17 18 19 20 21 22 23 24 25 26 27 | import sapien.core as sapien
engine = sapien.Engine()
renderer = sapien.OptifuserRenderer()
engine.set_renderer(renderer)
scene0 = engine.create_scene(gravity=[0, 0, -9.81])
scene0.set_timestep(1 / 240)
renderer_controller = sapien.OptifuserController(renderer)
renderer_controller.set_current_scene(scene0)
renderer_controller.show_window()

renderer_controller.set_camera_position(-4, 0, 2)
renderer_controller.set_camera_rotation(0, -0.5)
scene0.set_ambient_light([0.5, 0.5, 0.5])
scene0.set_shadow_light([0, 1, -1], [0.5, 0.5, 0.5])
loader = scene0.create_urdf_loader()
articulated_object = loader.load("assets/179/mobility.urdf")
while not renderer_controller.should_quit:
    scene0.update_render()
    scene0.step()
    renderer_controller.render()
scene0 = None
|