Camera
In this tutorial, you will learn the following:
Create a camera
CameraEntityand mount it to an actorOff-screen rendering for RGB, depth, point cloud and segmentation
The full script can be downloaded here camera.py
Create and mount a camera
First of all, let’s set up the engine, renderer, scene, lighting, and load a URDF file.
    engine = sapien.Engine()
    renderer = sapien.SapienRenderer()
    engine.set_renderer(renderer)

    scene = engine.create_scene()
    scene.set_timestep(1 / 100.0)

    loader = scene.create_urdf_loader()
    loader.fix_root_link = True
    urdf_path = '../assets/179/mobility.urdf'
    # load as a kinematic articulation
    asset = loader.load_kinematic(urdf_path)
    assert asset, 'URDF not loaded.'


    scene.set_ambient_light([0.5, 0.5, 0.5])
    scene.add_directional_light([0, 1, -1], [0.5, 0.5, 0.5], shadow=True)
    scene.add_point_light([1, 2, 2], [1, 1, 1], shadow=True)
    scene.add_point_light([1, -2, 2], [1, 1, 1], shadow=True)
    scene.add_point_light([-1, 0, 1], [1, 1, 1], shadow=True)
We create the Vulkan-based renderer by calling sapien.SapienRenderer(offscreen_only=...).
If offscreen_only=True, the on-screen display is disabled.
It works without a window server like x-server.
You can forget about all the difficulties working with x-server and OpenGL!
Next, you can create a camera as follows:
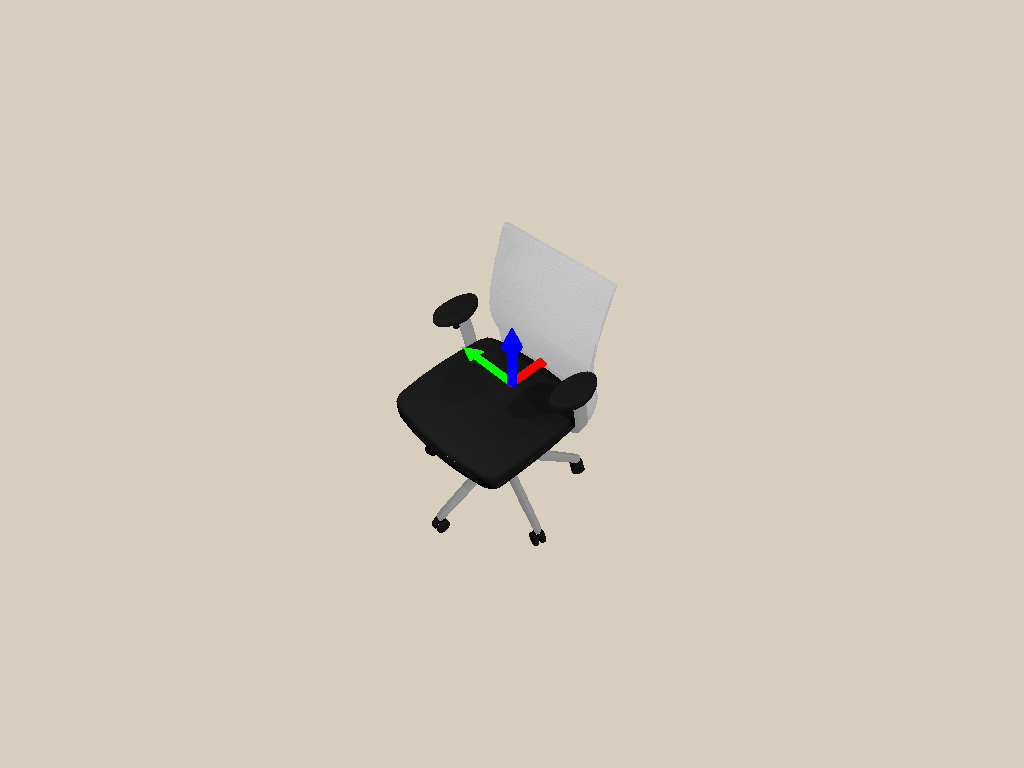
    near, far = 0.1, 100
    width, height = 640, 480
    camera = scene.add_camera(
        name="camera",
        width=width,
        height=height,
        fovy=np.deg2rad(35),
        near=near,
        far=far,
    )
    camera.set_pose(sapien.Pose(p=[1, 0, 0]))
This camera is now placed at coordinate [1, 0, 0] without rotation.
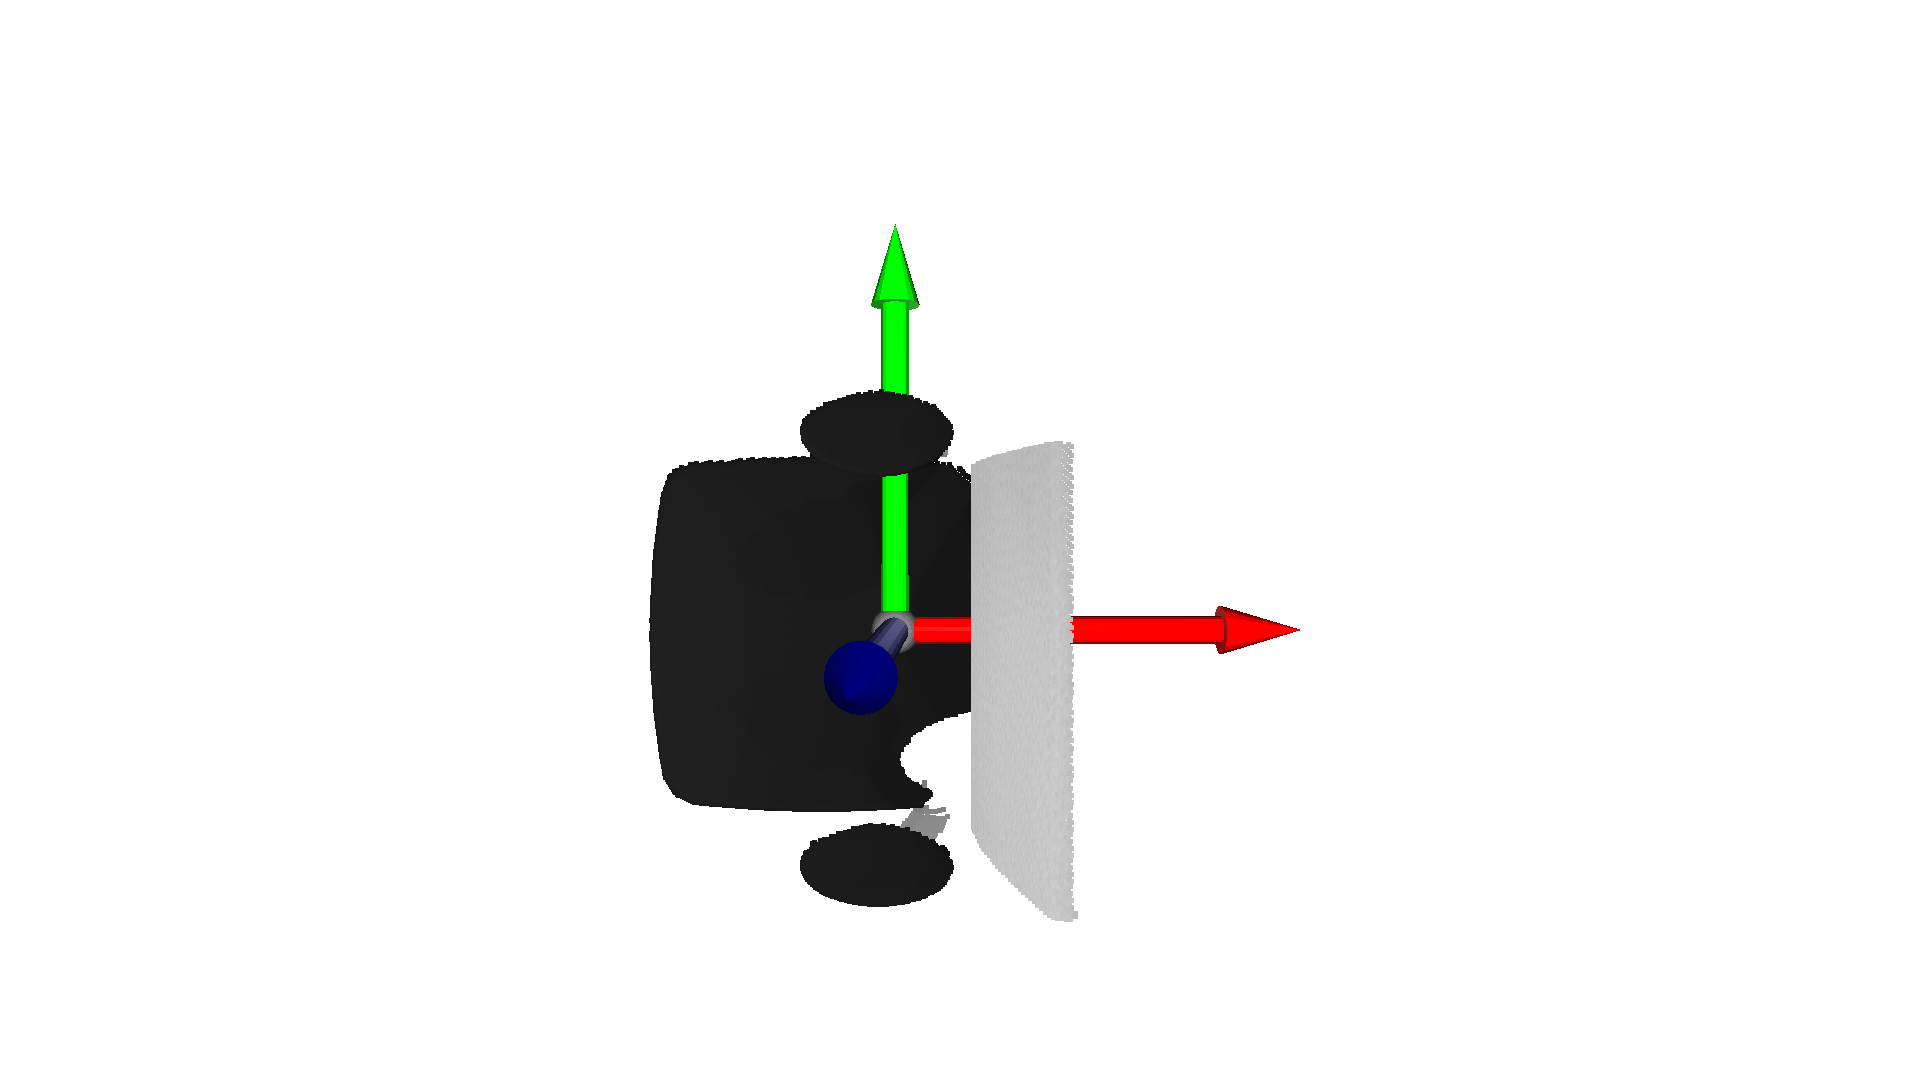
An camera can also be mounted onto an Actor to keep a pose relative to the
actor as follows:
    camera_mount_actor = scene.create_actor_builder().build_kinematic()
    camera.set_parent(parent=camera_mount_actor, keep_pose=False)

    # Compute the camera pose by specifying forward(x), left(y) and up(z)
    cam_pos = np.array([-2, -2, 3])
    forward = -cam_pos / np.linalg.norm(cam_pos)
    left = np.cross([0, 0, 1], forward)
    left = left / np.linalg.norm(left)
    up = np.cross(forward, left)
    mat44 = np.eye(4)
    mat44[:3, :3] = np.stack([forward, left, up], axis=1)
    mat44[:3, 3] = cam_pos
    camera_mount_actor.set_pose(sapien.Pose.from_transformation_matrix(mat44))
The camera is mounted on the the camera_mount_actor through set_parent. The
pose of the camera relative to the mount is specified through set_local_pose.
Note
Calling set_local_pose without a parent sets the global pose of the camera.
Callling set_pose with a parent results in an error, as it is ambiguous.
The process of adding and mounting a camera can be achieved through the
convenience function add_mounted_camera (which used to be the only way to
add a camera).
    near, far = 0.1, 100
    width, height = 640, 480
    camera_mount_actor = scene.create_actor_builder().build_kinematic()
    camera = scene.add_mounted_camera(
        name="camera",
        actor=camera_mount_actor,
        pose=sapien.Pose(),  # relative to the mounted actor
        width=width,
        height=height,
        fovy=np.deg2rad(35),
        near=near,
        far=far,
    )
If the mounted actor is kinematic (or static), the camera moves along
with the actor when the actor of the actor is changed through set_pose. If
the actor is dynamic, the camera moves along with it during dynamic simulation.
Note
Note that the axes conventions for SAPIEN follow the conventions for robotics, while they are different from those for many graphics softwares (like OpenGL and Blender). For a SAPIEN camera, the x-axis points forward, the y-axis left, and the z-axis upward.
However, do note that the “position” texture (camera-space point cloud) obtained from the camera still follows the graphics convention (x-axis right, y-axis upward, z-axis backward). This maintains consistency of SAPIEN with most other graphics software. This will be further discussed below.
Render an RGB image
To render from a camera, you need to first update all object states to the renderer.
Then, you should call take_picture() to start the rendering task on the GPU.
    scene.step()  # make everything set
    scene.update_render()
    camera.take_picture()
Now, we can acquire the RGB image rendered by the camera.
To save the image, we use pillow here, which can be installed by pip install pillow.
    rgba = camera.get_float_texture('Color')  # [H, W, 4]
    # An alias is also provided
    # rgba = camera.get_color_rgba()  # [H, W, 4]
    rgba_img = (rgba * 255).clip(0, 255).astype("uint8")
    rgba_pil = Image.fromarray(rgba_img)
    rgba_pil.save('color.png')
Generate point cloud
Point cloud is a common representation of 3D scenes. The following code showcases how to acquire the point cloud in SAPIEN.
    # Each pixel is (x, y, z, render_depth) in camera space (OpenGL/Blender)
    position = camera.get_float_texture('Position')  # [H, W, 4]
We acquire a “position” image with 4 channels. The first 3 channels represent the 3D position of each pixel in the OpenGL camera space, and the last channel stores the z-buffer value commonly used in rendering. When is value is 1, the position of this pixel is beyond the far plane of the camera frustum.
    # OpenGL/Blender: y up and -z forward
    points_opengl = position[..., :3][position[..., 3] < 1]
    points_color = rgba[position[..., 3] < 1][..., :3]
    # Model matrix is the transformation from OpenGL camera space to SAPIEN world space
    # camera.get_model_matrix() must be called after scene.update_render()!
    model_matrix = camera.get_model_matrix()
    points_world = points_opengl @ model_matrix[:3, :3].T + model_matrix[:3, 3]
Note that the position is represented in the OpenGL camera space, where the negative z-axis points forward and the y-axis is upward.
Thus, to acquire a point cloud in the SAPIEN world space (x forward and z up),
we provide get_model_matrix(), which returns the transformation from the OpenGL camera space to the SAPIEN world space.
We visualize the point cloud by Open3D, which can be installed by pip install open3d.
Besides, the depth map can be obtained as well.
    depth = -position[..., 2]
    depth_image = (depth * 1000.0).astype(np.uint16)
    depth_pil = Image.fromarray(depth_image)
    depth_pil.save('depth.png')

Visualize segmentation
SAPIEN provides the interfaces to acquire object-level segmentation.
    seg_labels = camera.get_uint32_texture('Segmentation')  # [H, W, 4]
    colormap = sorted(set(ImageColor.colormap.values()))
    color_palette = np.array([ImageColor.getrgb(color) for color in colormap],
                             dtype=np.uint8)
    label0_image = seg_labels[..., 0].astype(np.uint8)  # mesh-level
    label1_image = seg_labels[..., 1].astype(np.uint8)  # actor-level
    # Or you can use aliases below
    # label0_image = camera.get_visual_segmentation()
    # label1_image = camera.get_actor_segmentation()
    label0_pil = Image.fromarray(color_palette[label0_image])
    label0_pil.save('label0.png')
    label1_pil = Image.fromarray(color_palette[label1_image])
    label1_pil.save('label1.png')
There are two levels of segmentation. The first one is mesh-level, and the other one is actor-level. The examples are illustrated below.
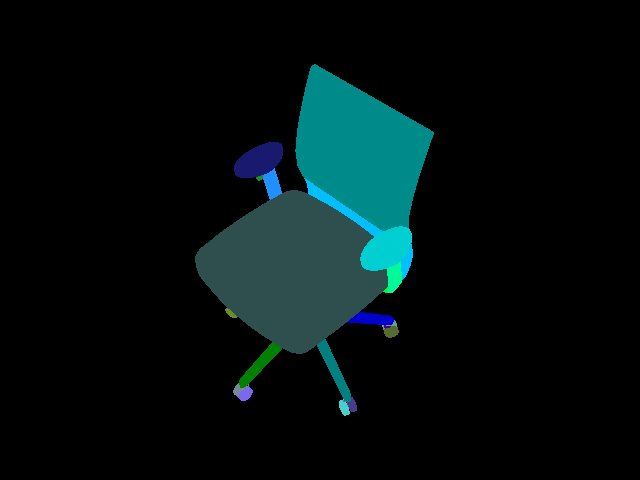
Mesh-level segmentation
Actor-level segmentation
Take a screenshot from the viewer
The viewer provides a Take Screenshot button, which saves the current viewer image to sapien_screenshot_x.png, where x is an integer that automatically increases starting from 0.
The Window of the viewer also provides the same interfaces as
CameraEntity, get_float_texture and get_uint32_texture, to allow
taking screenshots programmaitcally. Thus, you could take a screenshot by
calling them. Notice the definition of rpy (roll, yaw, pitch) when you set
the viewer camera.
    viewer = Viewer(renderer)
    viewer.set_scene(scene)
    # We show how to set the viewer according to the pose of a camera
    # opengl camera -> sapien world
    model_matrix = camera.get_model_matrix()
    # sapien camera -> sapien world
    # You can also infer it from the camera pose
    model_matrix = model_matrix[:, [2, 0, 1, 3]] * np.array([-1, -1, 1, 1])
    # The rotation of the viewer camera is represented as [roll(x), pitch(-y), yaw(-z)]
    rpy = mat2euler(model_matrix[:3, :3]) * np.array([1, -1, -1])
    viewer.set_camera_xyz(*model_matrix[0:3, 3])
    viewer.set_camera_rpy(*rpy)
    viewer.window.set_camera_parameters(near=0.05, far=100, fovy=1)
    while not viewer.closed:
        if viewer.window.key_down('p'):  # Press 'p' to take the screenshot
            rgba = viewer.window.get_float_texture('Color')
            rgba_img = (rgba * 255).clip(0, 255).astype("uint8")
            rgba_pil = Image.fromarray(rgba_img)
            rgba_pil.save('screenshot.png')
        scene.step()
        scene.update_render()
        viewer.render()