Getting Started with Robot
Note
Please first complete Basic before continuing this tutorial. The assets (robot) used in this tutorial can be found here.
In this tutorial, you will learn the following:
Load a robot (URDF)
Set joint positions
Compensate passive forces
Control the robot by torques
The full script can be downloaded here basic_robot.py
Set up the engine, renderer and scene
First of all, let’s set up the simulation environment as illustrated in Hello World.
def demo(fix_root_link, balance_passive_force):
    engine = sapien.Engine()
    renderer = sapien.VulkanRenderer()
    engine.set_renderer(renderer)

    scene_config = sapien.SceneConfig()
    scene = engine.create_scene(scene_config)
    scene.set_timestep(1 / 240.0)
    scene.add_ground(0)

    scene.set_ambient_light([0.5, 0.5, 0.5])
    scene.add_directional_light([0, 1, -1], [0.5, 0.5, 0.5])

    viewer = Viewer(renderer)
    viewer.set_scene(scene)
    viewer.set_camera_xyz(x=-2, y=0, z=1)
    viewer.set_camera_rpy(r=0, p=-0.3, y=0)
Load a robot URDF
Now, you can create a URDFLoader to load the URDF XML of Kinova Jaco2 arm.
URDF XML describes a robot.
Usually, URDF files are provided by manufacturers.
For example, the URDF XML of Kinova Jaco2 arm can be found here.
    loader.fix_root_link = fix_root_link
    robot: sapien.Articulation = loader.load("../assets/robot/jaco2/jaco2.urdf")
    robot.set_root_pose(sapien.Pose([0, 0, 0], [1, 0, 0, 0]))
Note that there is a fix_root_link flag for the URDF loader.
If it is true (by default), then the root link of the robot will be fixed.
Otherwise, it is allowed to move freely.
The robot is loaded as Articulation, which is a tree of links connected by joints.
We can set the pose of its root link through set_root_pose(...).
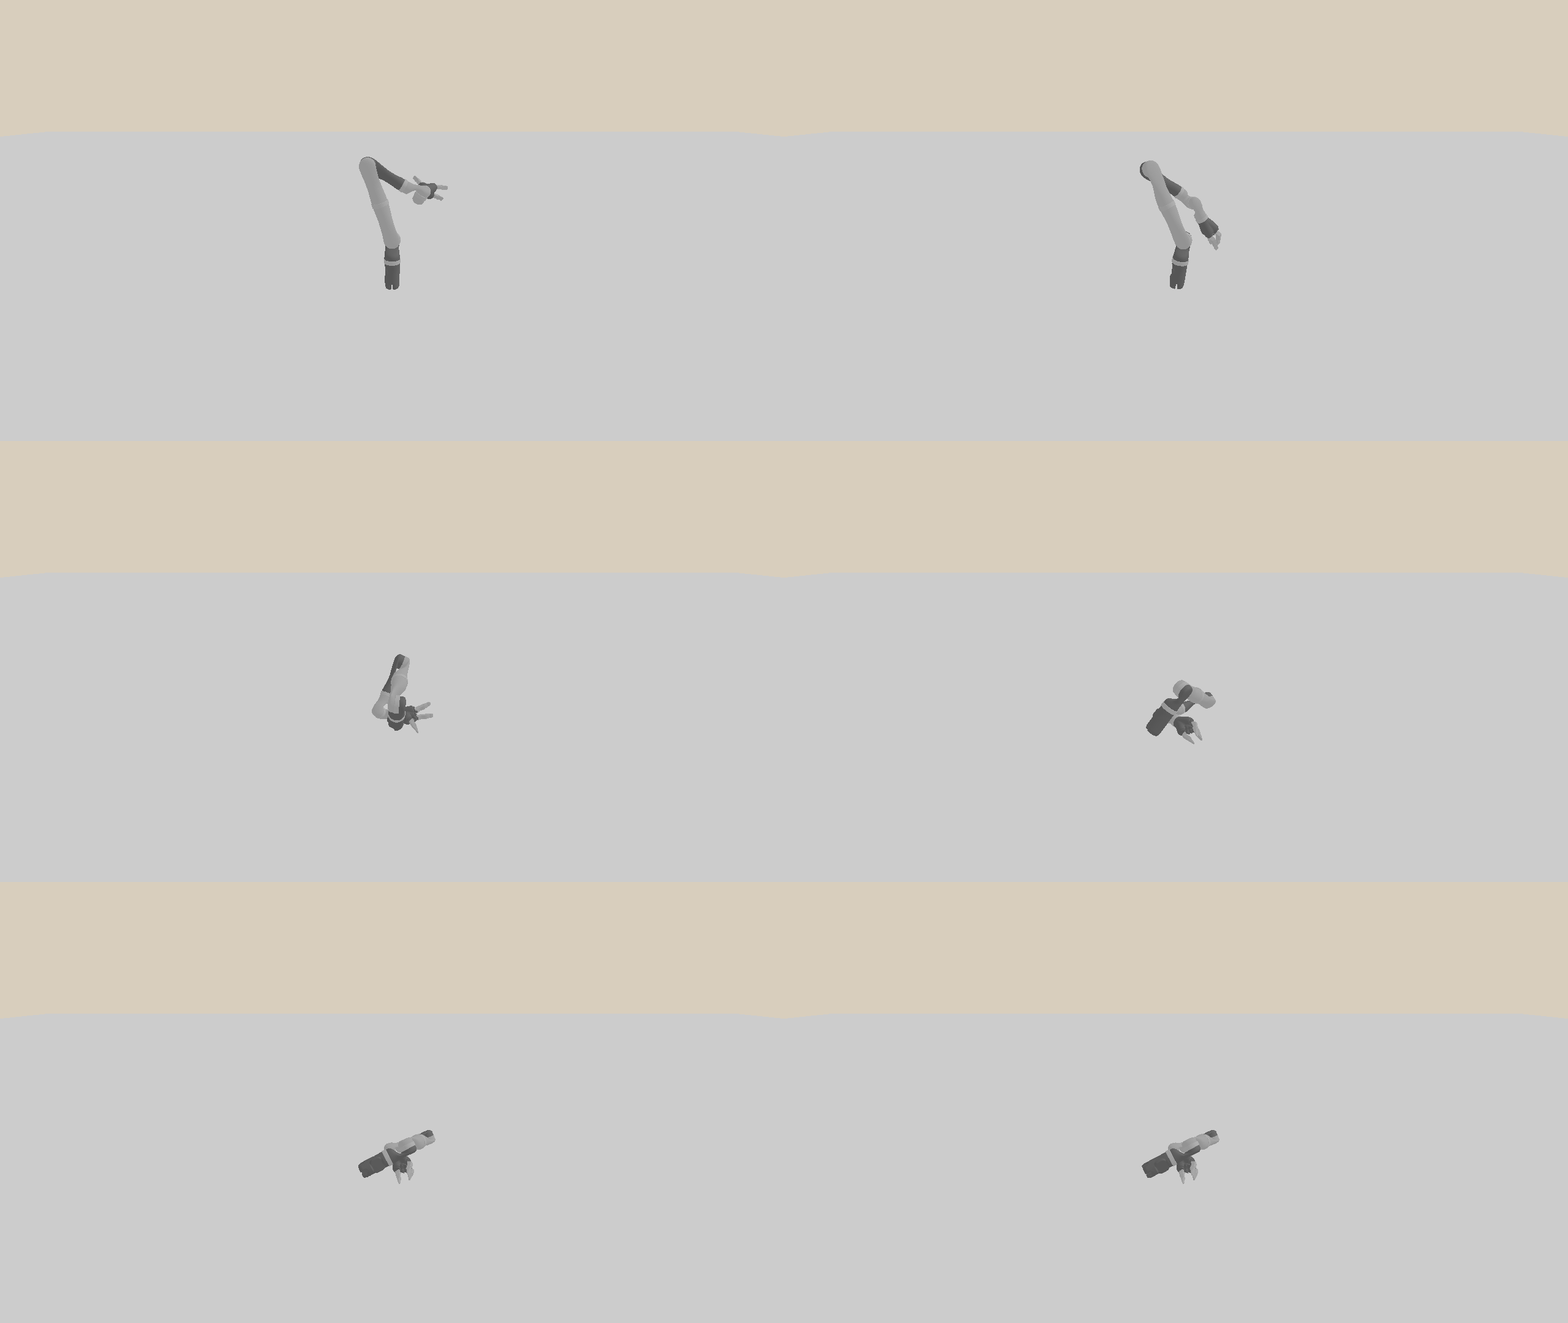
If you run the example with demo(fix_root_link=False, balance_passive_force=False), it is expected that you will observe the following “falling-down” robot arm.
We will see how to keep the robot at a certain pose later.

The robot arm falls down.
Note
When a robot is already loaded, changing the flag of the URDF loader will not take effect.
Set joint positions
    gripper_init_qpos = [0, 0, 0, 0, 0, 0]
    init_qpos = arm_init_qpos + gripper_init_qpos
    robot.set_qpos(init_qpos)
We can also set initial joint positions through set_qpos(qpos=...).
The qpos should be a concatenation of the position of each joint.
Its length is the degree of freedom, and its order is the same as that returned by robot.get_joints().
Note
If the articulation is loaded from a URDF file, its joints are in preorder (DFS preorder traversal over the articulation tree). If the articulation is built programmatically (refer to Create Articulations), its joints are in the order when they are built.
Compensate passive forces (e.g. gravity)
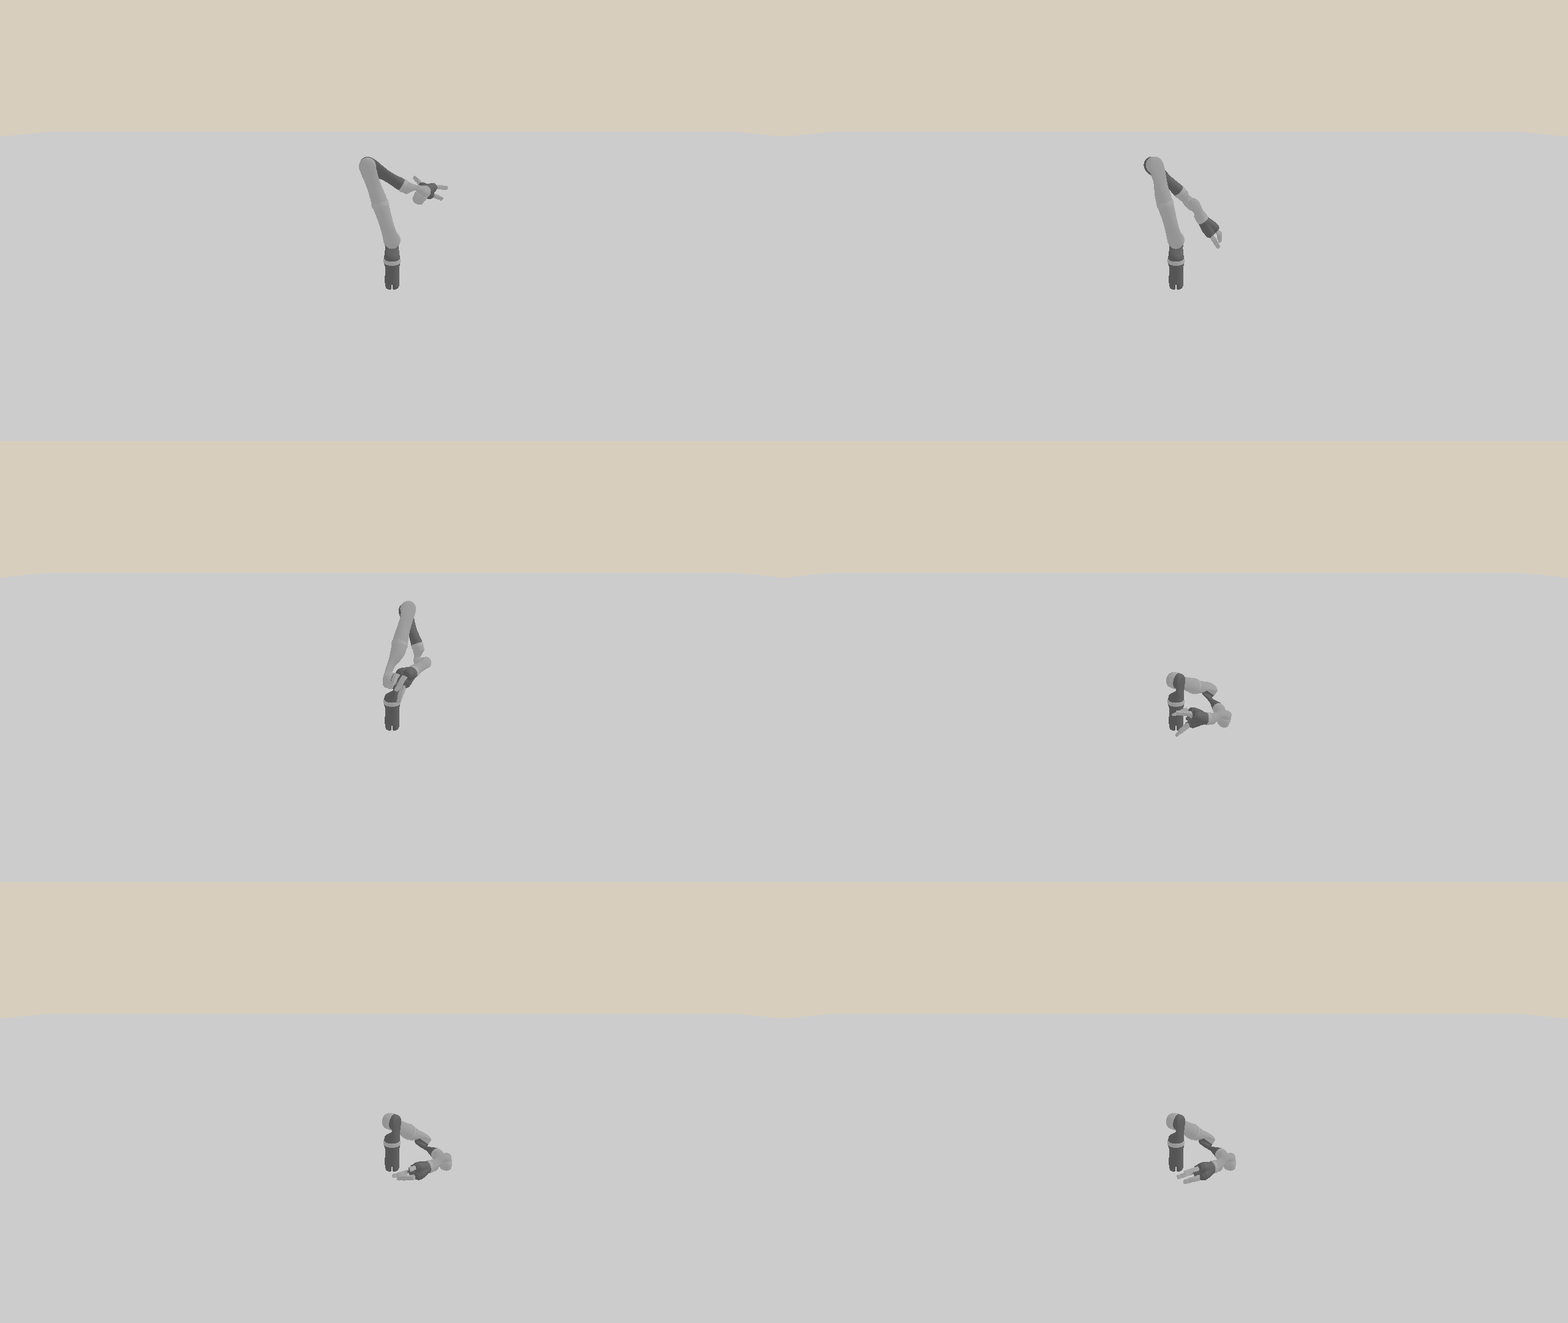
You may find that even if you run the example with fix_root_link=True, the robot still can not maintain its initial joint positions.
It is due to gravitational force and other possible passive forces, like Coriolis and Centrifugal force.

The root link (base) of the robot is fixed, but it still falls down due to passive forces.
For a real robot, gravity compensation is done by an internal controller hardware.
So it is usually desirable to skip this troublesome calculation of how to compensate gravity.
SAPIEN provides compute_passive_force to compute desired forces or torques on joints to compensate passive forces.
In this example, we only consider gravity as well as coriolis and centrifugal force.
        for _ in range(4):  # render every 4 steps
            if balance_passive_force:
                qf = robot.compute_passive_force(
                    gravity=True,
                    coriolis_and_centrifugal=True,
                )
                robot.set_qf(qf)
            scene.step()
        scene.update_render()
        viewer.render()
We recompute the compensative torque every step and control the robot by set_qf(qf).
qf should be a concatenation of the force or torque to apply on each joint.
Its length is the degree of freedom, and its order is the same as that returned by robot.get_joints().
Note that when qf is set, it will be applied every simulation step.
You can call robot.get_qf() to acquire its current value.
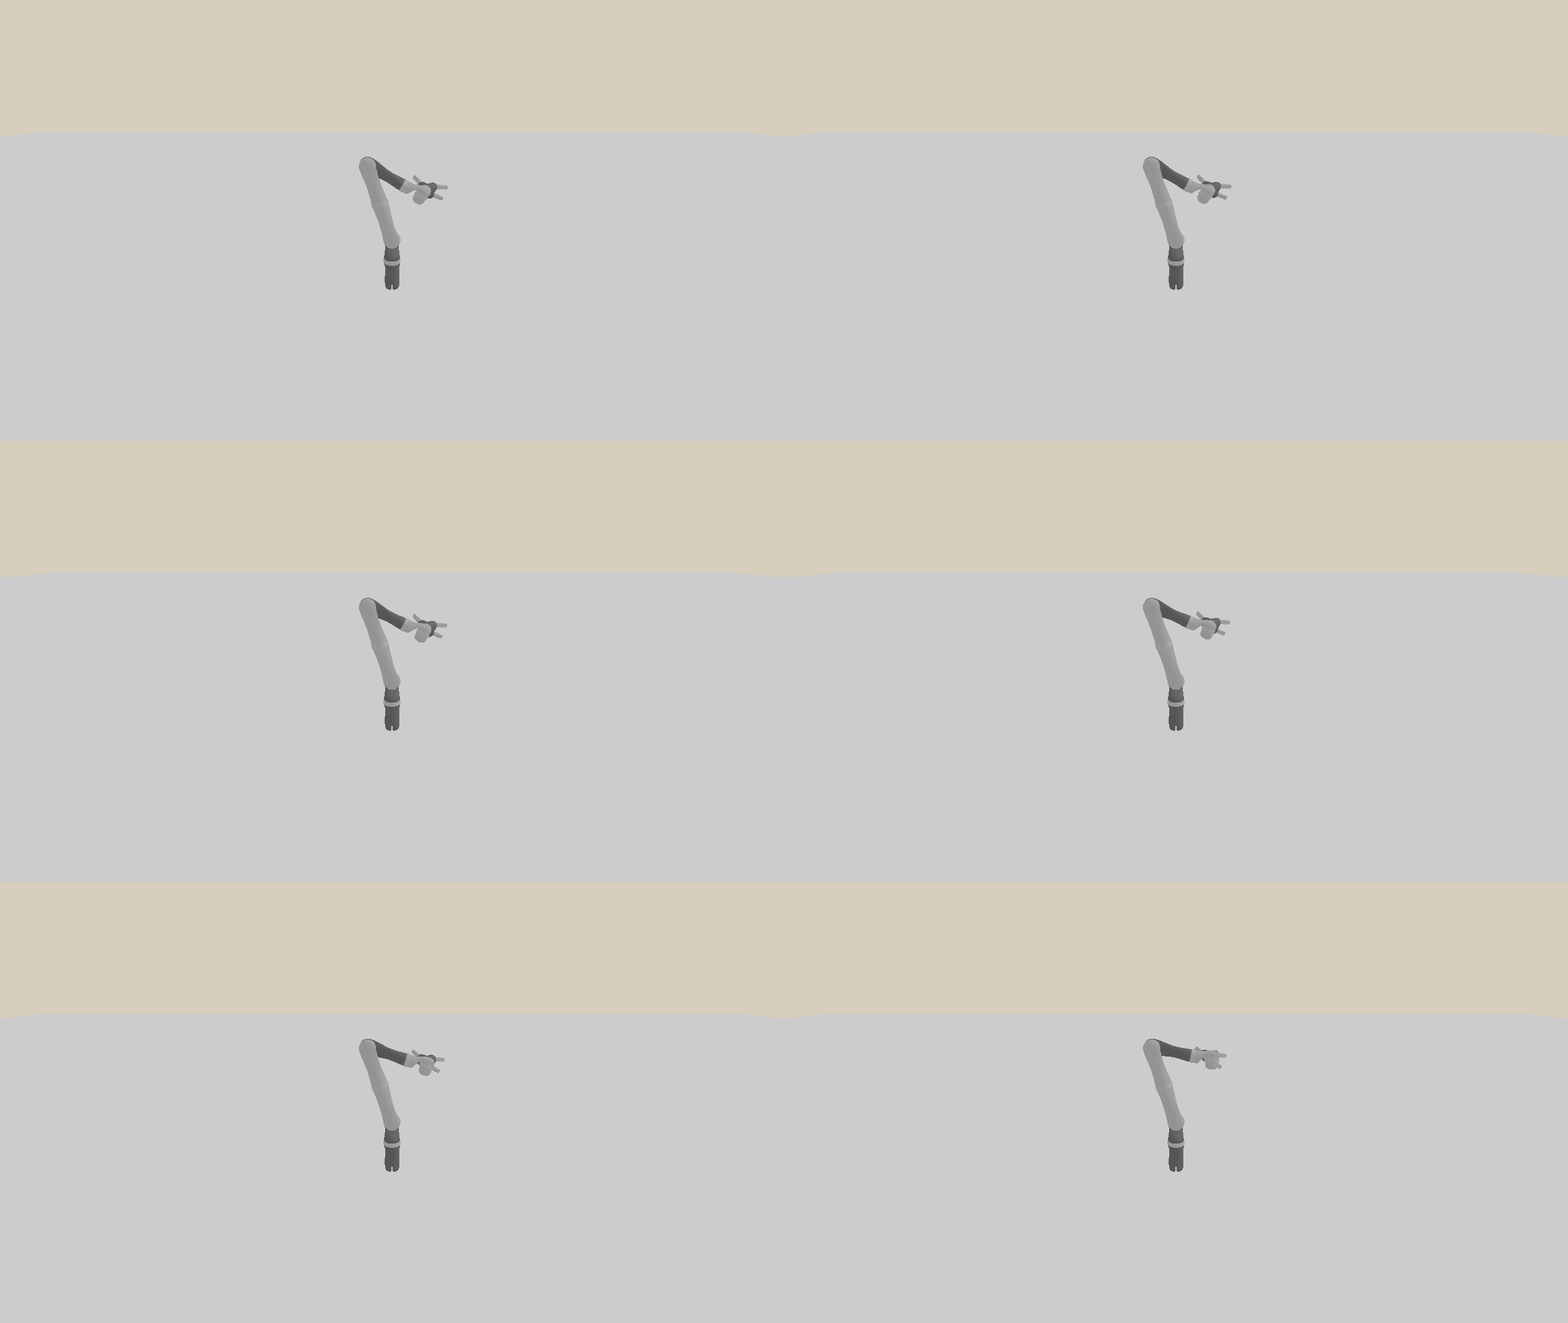
Now, if you run the example with demo(fix_root_link=True, balance_passive_force=True), it is observed that the robot can stay at the target pose for a short period.
However, it will then deviate from this pose gradually due to numerical error.

The robot arm is able to stay at the target pose, but might deviate gradually due to numerical error. The animation is accelerated.
Note
To avoid deviating from the target pose gradually, either we specify the damping (resistence proportional to velocity) of each joint in the URDF XML, or a controller can be used to compute desired extra forces or torques to keep the robot around the target pose. Drive Robot with PID Controller will elaborate how to control the robot with a controller.